Dernière mise à jour le 10/06/2024 par QHBAKE
Hello, baking enthusiasts and cookie connoisseurs! Are you ready to embark on a scrumptious journey through the art of biscuit making? Whether you’re a seasoned baker looking to refine your craft or a novice just starting to dip your toes into the dough, this article is your guide to mastering the biscuit making process.
Mais d'abord, allégeons la pâte avec un peu d'humour : Pourquoi le biscuit est-il allé chez le médecin ? Parce qu'il y avait un peu de crumble !
The Art of Biscuit Making
The process of making biscuits is a delicate dance of ingredients, technique, and timing. It’s an art form that transforms a simple mixture of flour, fat, and liquid into a golden, buttery delight. Let’s break down the steps to create biscuits that are as light as a feather and as crisp as the morning air.
Gathering Your Ingredients
The first step in any culinary adventure is gathering your ingredients. For biscuits, you’ll need:
- Flour: The base of your biscuit, often all-purpose or cake flour for a tender crumb.
- Fat: Typically butter or shortening, which creates the flaky layers.
- Leavening Agent: Baking powder or baking soda to give your biscuits height.
- Liquid: Usually milk or buttermilk, which adds moisture and flavor.
- Seasonings: Salt, pepper, and any herbs or spices that suit your taste.
Mixing the Dough
Now that your ingredients are assembled, it’s time to mix. The key to light and flaky biscuits is in the mixing method. Overmixing can lead to tough biscuits, while undermixing can result in uneven distribution of fats and a less desirable texture.
- Combine Dry Ingredients: Start by whisking together your flour, leavening agent, and any seasonings.
- Cut in the Fat: Using a pastry cutter, two knives, or your fingers, cut the cold fat into the dry ingredients until it resembles coarse crumbs.
- Add Liquid: Gradually add your liquid to the mixture, stirring gently until just combined. The dough should be slightly sticky but not overly wet.
Kneading and Shaping
While kneading is generally not recommended for biscuit dough to avoid toughness, gently folding the dough over on itself a few times can help incorporate any dry ingredients and create a more uniform texture.
Once your dough is ready, it’s time to shape your biscuits. You can use a biscuit cutter, a glass, or even the edge of a spoon to cut out rounds of dough, placing them onto a baking sheet.

Baking the Biscuits
Preheat your oven to a hot 425°F (220°C) and bake your biscuits for 10-15 minutes, or until they’re golden brown and cooked through. The high temperature is crucial for creating a crispy exterior while keeping the inside tender.
Données statistiques
According to the International Biscuit Manufacturers Association, the global biscuit market was valued at approximately USD 35 billion in 2019 and is expected to grow, reflecting the enduring popularity of biscuits worldwide.

Tips for Perfect Biscuits
- Chill Your Dough: Refrigerating your dough before baking can help control the spread and create flakier biscuits.
- Use Cold Fat: Cold butter or shortening integrates better into the dough, ensuring those desirable layers.
- Handle with Care: Be gentle when mixing and shaping to avoid developing gluten, which can toughen the biscuits.
Conclusion
The biscuit making process is a rewarding culinary endeavor that can turn a few simple ingredients into a delectable treat. By mastering the steps of mixing, shaping, and baking, you can create biscuits that are the pride of any breakfast table or tea time spread.

Remember, practice makes perfect, so don’t be discouraged if your first batch isn’t picture-perfect. Keep experimenting with different flavors and techniques to find your biscuit bliss.
-
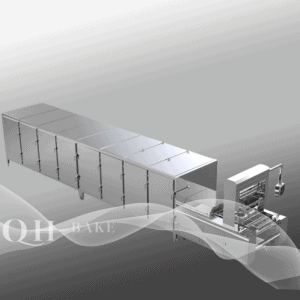
Ligne de dépôt automatique de bonbons gélifiés sans amidon 150 : 60 000 bonbons gélifiés/h 280 pièces de moule à l'intérieur de la machine Unité de refroidissement 8-10PH
-
Équipement de dépôt de bonbons Servo-Form 20S : Cavité PCS : ±20 ; 100x80x160 Taille (cm)
-
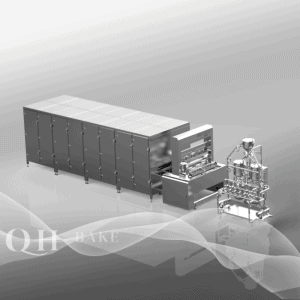
Ligne de dépôt automatique de bonbons gélifiés sans amidon 300 120 000 bonbons gélifiés/h 8-10PH Unité de refroidissement 280 pièces de double moule à l'intérieur de la machine
-

Distributeur de bonbons à servocommande 50S : servocommande ; nombre de cavités : ± 20 ; dimensions : 200 x 100 x 170 cm
Appel à l'action
Ready to roll up your sleeves and get baking? Grab your apron, preheat your oven, and let’s make some biscuits! And as you perfect your biscuit making skills, share your creations and experiences with us. We’d love to see the fruits of your labor.
-
Ligne de dépôt automatique de bonbons gélifiés sans amidon 150 : 60 000 bonbons gélifiés/h 280 pièces de moule à l'intérieur de la machine Unité de refroidissement 8-10PH
-
Équipement de dépôt de bonbons Servo-Form 20S : Cavité PCS : ±20 ; 100x80x160 Taille (cm)
-
Ligne de dépôt automatique de bonbons gélifiés sans amidon 300 120 000 bonbons gélifiés/h 8-10PH Unité de refroidissement 280 pièces de double moule à l'intérieur de la machine
-
Distributeur de bonbons à servocommande 50S : servocommande ; nombre de cavités : ± 20 ; dimensions : 200 x 100 x 170 cm
-
Ligne de dépôt automatique de bonbons gélifiés sans amidon 600 : 240 000 bonbons gélifiés/h 10-20 PH Unité de refroidissement 520 pièces de double moule à l'intérieur de la machine
-
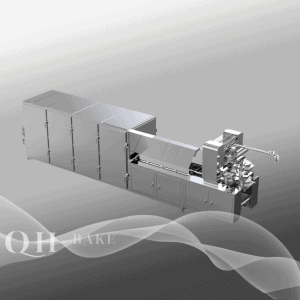
Ligne de production automatique de bonbons gélifiés : 40 000 bonbons gélifiés/h, unité de refroidissement 5-8 PH, 200 pièces de moule à l'intérieur de la machine
-

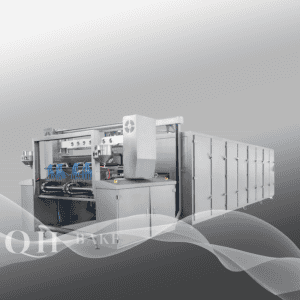
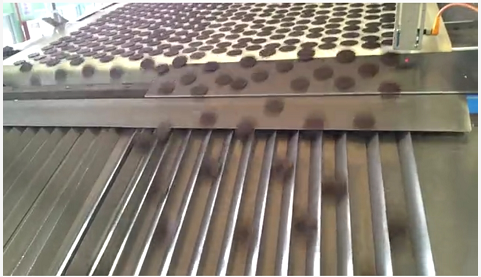
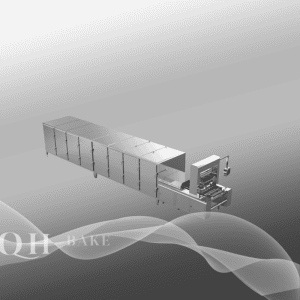
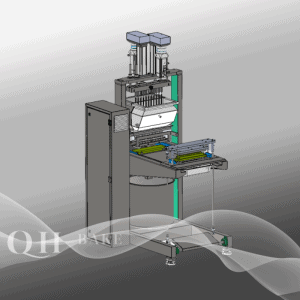
Ligne de production automatique de biscuits pour Slaes - Cookie Machine
-

Machine automatique de fabrication de perles de Konjac pour les ventes - Fournisseur et fabrication
-

Ligne de production automatique de sucettes à vendre - Candy Machine Factory
-

Ligne de production automatique de dépôt sans amidon : révolutionner la fabrication de bonbons
-

Biscuit Plant Machinery
-
Ligne de production de biscuits